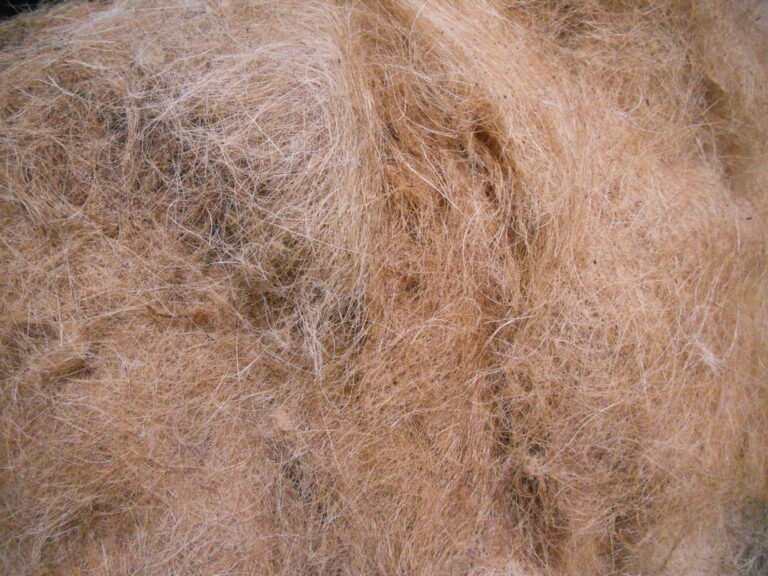
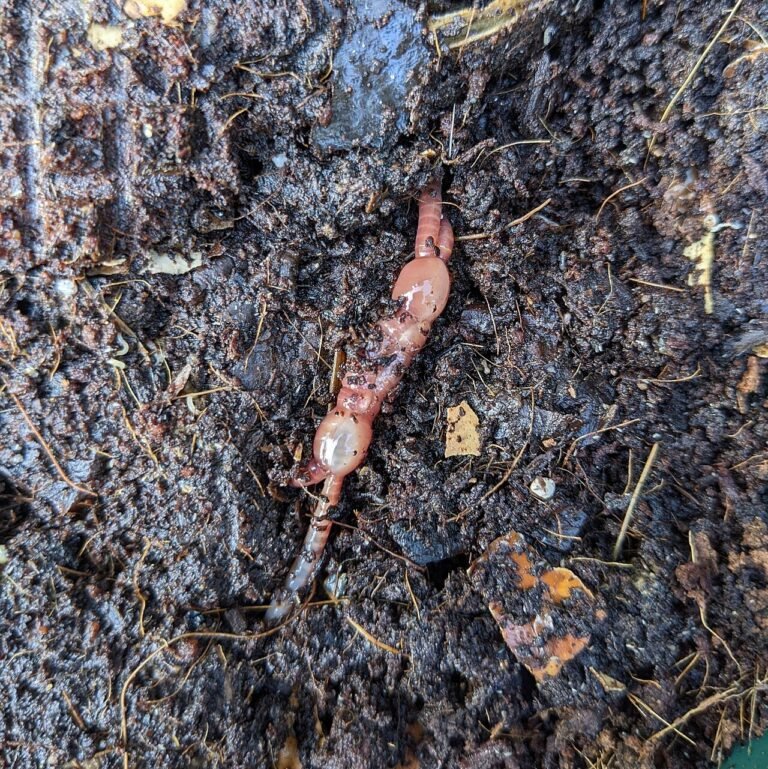
Mulching is arguably the most transformative practice in horticulture, acting as the skin of your garden. When done correctly, it protects soil health, suppresses invasive weeds, and regulates moisture levels, effectively reducing the need for constant maintenance. At Gardenvoila, we consider mulching the foundational secret to a thriving landscape, bridging the gap between amateur gardening and professional-grade plant vitality. Whether you are managing a lush floral display or a productive vegetable patch, understanding how to apply organic or inorganic materials is essential for long-term success.
This guide provides a comprehensive, expert-led approach to mulching, covering everything from material selection to application techniques. Before you begin, it is helpful to understand the volume of material required for your specific site, which you can determine using our soil calculator to ensure you order the correct amount of mulch without waste.
Why Mulching is the Backbone of Garden Health
Many gardeners view mulch as a purely aesthetic choice—a way to make flower beds look tidy. However, from a soil science perspective, its role is far more critical. A well-applied layer of mulch serves as a thermal blanket, protecting delicate root systems from the harsh Australian summer heat and the occasional winter frost. It also plays a vital role in soil structure; as organic mulches break down, they introduce essential nutrients and organic matter into the earth, fostering a healthy microbiome of fungi and beneficial bacteria.
Beyond soil health, mulch acts as a physical barrier. By blocking sunlight from reaching the soil surface, it prevents weed seeds from germinating, saving you countless hours of manual labour. Furthermore, it slows down evaporation, keeping moisture in the root zone for longer, which can be cross-referenced with your garden watering calculator to optimise your irrigation schedule.
Selecting the Right Mulch for Your Ecosystem
Not all mulches are created equal. The choice of material should depend on your specific plants and local climate conditions. Using the wrong type can sometimes lead to nitrogen deficiency or moisture retention issues.
| Mulch Type | Best For | Longevity | Key Benefit |
|---|---|---|---|
| Sugar Cane Mulch | Vegetable gardens | Short (6-12 months) | Breaks down quickly, adds nutrients |
| Pine Bark | Ornamental gardens | Long (1-2 years) | Aesthetic appeal, slow decomposition |
| Pea Straw | Roses and vegetables | Short (6 months) | High nitrogen content |
| Gravel/Stone | Succulents/Cacti | Permanent | Excellent drainage, low maintenance |
| Leaf Mould | Native gardens | Medium | Natural, free, improves soil structure |
At Gardenvoila, we advocate for choosing materials that complement the natural environment of your garden. For instance, native Australian plants often prefer a coarser, leaf-based mulch that mimics the forest floor, whereas high-yield vegetable crops benefit from lighter, nitrogen-rich organic mulches like pea straw or lucerne.
Step-by-Step: The Professional Mulching Method
Mulching is not simply a matter of dumping bags of bark onto your garden bed. To achieve the best results, you must follow a methodical approach. Follow these steps to ensure you are creating an environment where your plants can truly flourish.
1. Preparation and Weeding
Before applying mulch, you must clear the area. If you mulch over existing weeds, they will simply push through or continue to thrive underneath. Pull weeds by the root and ensure the soil is free of debris. If you identify any persistent issues, consult our plant problem identifier to ensure you are not masking a larger soil-borne disease or pest issue.
2. Soil Moisture Assessment
Never mulch dry soil. Mulch is designed to retain moisture, but if you apply it to parched ground, you are essentially sealing in a deficit. Give your garden a deep soak before application. If you have been struggling with consistent hydration, review your watering habits to ensure the roots are adequately saturated before the mulch layer is placed.
3. The Depth Rule
One of the most common mistakes beginners make is applying mulch too thickly or too thinly. A layer between 5cm and 7cm is generally the ‘sweet spot’. If it is too thin, it will not suppress weeds effectively. If it is too thick, it can prevent water from penetrating the soil and may cause the base of plant stems to rot.
4. The Collar Gap
This is a critical expert tip: keep the mulch away from the trunk or stem of your plants. Creating a ‘donut’ of space around the base of trees and shrubs prevents collar rot and discourages pests like slugs and snails from nesting against the plant tissue.
Expert Perspectives on Mulch Maintenance
Mulching is an ongoing cycle, not a one-time chore. Over time, organic mulches will naturally decompose, incorporating into the soil and requiring replenishment. We recommend an annual check-up of your garden beds. If you can see the soil, it is time to top up.
When calculating the financial aspect of your garden maintenance, consider the long-term savings. Using mulch reduces the need for commercial fertilisers and excessive water use. You can track your investment and material requirements via our garden cost calculator to ensure your maintenance plan stays within budget.
The Role of Nitrogen
Some gardeners fear that wood-based mulches ‘steal’ nitrogen from the soil. While there is a slight biological draw-down as soil microbes break down woody material, this is usually negligible in established gardens. If you are worried, a light application of organic blood and bone or a seaweed-based fertiliser before mulching can offset any potential nutrient lock-up.
Common Pitfalls to Avoid
Even experienced gardeners occasionally slip up. Avoid these common traps to ensure your garden remains a sanctuary rather than a headache:
- Mulching over plastic: Avoid using plastic weed matting underneath organic mulch. It prevents the soil from breathing and stops earthworms from moving between the soil and the organic layer.
- Using dyed mulches: Be wary of cheap, brightly coloured mulches. They often contain dyes or recycled wood treated with chemicals that can be harmful to soil health.
- Ignoring soil pH: Some mulches, like pine bark, can slightly acidify the soil over time. If you are growing plants that prefer alkaline conditions, consider testing your soil periodically.
- Over-mulching: More is not always better. Excessive depth leads to anaerobic conditions, which can kill roots and encourage fungal growth.
Advanced Techniques: Layered Mulching
For those looking to take their gardening to the next level, consider the ‘lasagna’ or sheet-mulching method. This involves laying down layers of cardboard or newspaper directly onto the grass or weeds, followed by a layer of compost, and finally, your chosen mulch. This technique is excellent for starting new garden beds. The cardboard smothers the weeds and eventually breaks down, adding carbon to the soil and attracting earthworms, which naturally till the ground for you.
If you are planning a large-scale project, such as starting a new vegetable patch or ornamental bed, ensure you refer to our planting guides to ensure your layout supports the natural growth patterns of your chosen species once the mulch is in place.
Numbers to follow when you mulch
Start by clearing weeds, since both Minnesota and Clemson recommend weeding before mulching. Then work out how much you need with the Iowa State University Extension formula: volume equals bed area times mulch depth in feet. A 265 square foot bed mulched 1.5 inches deep (0.125 foot) needs 33.1 cubic feet, which is 17 two-cubic-foot bags or about 1.22 cubic yards, because a cubic yard is 27 cubic feet. Our mulch calculator does this for you.
Depth and spacing
Use 2 to 3 inches of wood chips, bark or needles, and no more than 2 inches of fine material such as shredded leaves or grass clippings. Keep mulch 2 to 3 inches away from woody stems, according to Clemson, to prevent decay and rodent damage, and 6 to 12 inches from building walls. UC Integrated Pest Management warns that mulch deeper than 4 inches can injure plants by keeping soil too wet and limiting root oxygen, and may increase root or stem rot.
Check the mulch before you spread it
Sour mulch is caused by poor storage that starves the pile of air. Signs include a vinegar, ammonia, sulfur or silage smell, and toxic mulch can test at pH 1.8 to 2.5. Spread it thinly to air out for a few days, or reject it. Clemson also notes that dry or thick mulch can form a water-repelling fungal mat, so water new mulch and break up matted layers with a rake. Slime molds are harmless; artillery fungus can stain cars and siding, so avoid wood-based mulch near structures.
Refresh, do not pile
Each year, rake the old layer and add only enough new mulch to restore the target depth. Old mulch does not need to be removed before new mulch is added, as University of Florida Extension notes, but stacking layers year after year creates the very deep layer that harms roots.
Safety and legal note: Mulch from recycled wood may be contaminated, so buy from a supplier who can name the wood source. Keep mulch well away from foundations, siding and windowsills, wear gloves and a dust mask when spreading dry mulch, and keep cocoa-shell mulch away from dogs. Coarse wood chips are less flammable than fine mulch; local fire rules vary.
Free printable: the Year-Round Garden & Preserving Planner
Planting dates for 24 crops, monthly tasks, blanching times, canning safety numbers and a winter storage chart in one 8-page PDF. Enter your email to download it instantly and get our seasonal garden newsletter.
No spam. Unsubscribe any time. We never sell your email.
FAQ: Your Mulching Questions Answered
How often should I replace my mulch?
It depends on the material. Pea straw and sugar cane decompose quickly and usually need topping up every 6 to 12 months. Bark and wood chips last longer, often 18 to 24 months. Always monitor the depth; if it drops below 3cm, it is time to add more.
Can I use grass clippings as mulch?
Yes, but with caution. Only use clippings from a lawn that has not been treated with herbicides. Apply them in thin layers (no more than 2cm at a time) to prevent them from matting together and becoming slimy or smelly.
Does mulch attract termites?
While some people worry that wood mulch attracts termites, most common garden mulches (like pine or eucalyptus) are not the preferred food source for termites. However, avoid piling mulch directly against the walls of your house to be safe.
Is it better to mulch in spring or autumn?
Both are excellent times. Spring mulching prepares the soil for summer heat and moisture retention. Autumn mulching insulates the soil as temperatures drop, protecting plant roots during the cooler months.
The Gardenvoila Commitment to Sustainable Horticulture
At Gardenvoila, we believe that the best gardens are those that work in harmony with nature. By following these mulching practices, you are not just making your garden look better; you are participating in a regenerative process that improves the earth for future seasons. Our resources, including our suite of tools, are designed to empower you to make data-driven decisions that save time, money, and water.
Whether you are a novice dealing with your first garden bed or a seasoned enthusiast refining your soil health strategy, remember that mulch is your greatest ally. It is the silent worker in your garden, tirelessly regulating the environment so you can focus on the joy of watching your plants thrive. For more insights on soil management and landscaping, explore our extensive library at Gardenvoila, where we provide evidence-based advice to help your garden reach its full potential.
By integrating mulch into your regular garden maintenance routine, you create a self-sustaining ecosystem. You will find that as your soil quality improves, your reliance on artificial fertilisers decreases, your plant health improves, and your garden becomes a more resilient, vibrant space. Happy gardening!
Summary Checklist for Successful Mulching
Keep this checklist handy for your next garden project:
- Measure: Determine the square meterage of your garden bed.
- Calculate: Use the volume calculator to estimate how much mulch you need.
- Clear: Remove weeds and debris from the soil surface.
- Water: Ensure the soil is damp before application.
- Apply: Spread mulch to a depth of 5-7cm.
- Protect: Keep the mulch 5cm away from plant stems and trunks.
- Maintain: Check your garden twice a year to see if the mulch layer needs refreshing.
Following these steps ensures that you are providing the best possible start for your plants. Remember, a well-mulched garden is a low-maintenance garden, allowing you more time to enjoy your outdoor space rather than working in it. Whether you are growing native shrubs, delicate flowers, or a thriving vegetable patch, the principles of mulching remain the same: protect the soil, retain the moisture, and watch your garden grow.
If you find yourself facing persistent issues despite proper mulching, do not hesitate to revisit our online resources. Sometimes, the solution to a struggling plant is not more water or fertiliser, but a simple adjustment to the soil surface environment. Keep observing your garden, keep learning, and enjoy the transformative power of a well-mulched landscape.
Reviewed October 2026. Sources: Clemson HGIC: Mulch Iowa State Extension: Amount of mulch needed UC IPM: Weeds in landscapes, mulches UF/IFAS Pinellas: Termites and mulch