Quick answer: Choose an outdoor compost bin by what you need to process, not its advertised speed. A ventilated stationary bin fits most mixed kitchen and garden scraps; a tumbler is easier to mix and may reduce animal access; an open wire cage works for leaves and yard trimmings; and a two- or three-bay wooden system suits a household producing substantial garden waste. Every option still needs a balanced mix of carbon-rich and nitrogen-rich materials, oxygen and appropriate moisture.
Search results for “outdoor compost bin” often mix up product buying, bin construction and instructions on decomposing materials. Those are related, but distinct decisions. If your goal is to start composting for the first time, see our step-by-step home composting guide. This article focuses specifically on choosing an outdoor container and operating system that fits your yard, waste volume, available labor and pest risks.
Outdoor compost-bin types compared
| System | Works best for | Key advantage | Trade-off |
|---|---|---|---|
| Open pile | Large, mostly plant-based garden waste | No purchase required | Untidy, accessible to animals |
| Wire-mesh cylinder | Leaves, shredded branches, dry yard materials | Inexpensive and well ventilated | Dries out and has little rodent exclusion |
| Stationary enclosed bin | Moderate mixed household scraps | Small footprint and tidier storage | Turning and finished-compost removal may be awkward |
| Rotating tumbler | Small-space households wanting easy mixing | Accessible to turn; typically enclosed | Limited working volume; can become wet and clumpy |
| Two-bay or three-bay wooden bins | Frequent gardening and large batches | Separates fresh, active and curing stages | Needs room, materials and routine turning |
Oregon State University Extension compares compost systems by processing style and maintenance requirements, while NC State Extension explains why any effective bin must balance moisture, air, materials and available volume. A sealed-looking container by itself does not generate compost.
How outdoor compost bins differ from open piles
A bin can contain materials, make a small site appear tidier and slow moisture loss. It may also offer a barrier to certain animals, depending on the base, lid and openings. An open pile provides flexible volume and easy access for turning but cannot exclude wildlife. A bin’s sides may hold heat slightly better than an open pile, yet temperature depends primarily on the amount and composition of material and on how actively microorganisms are working.
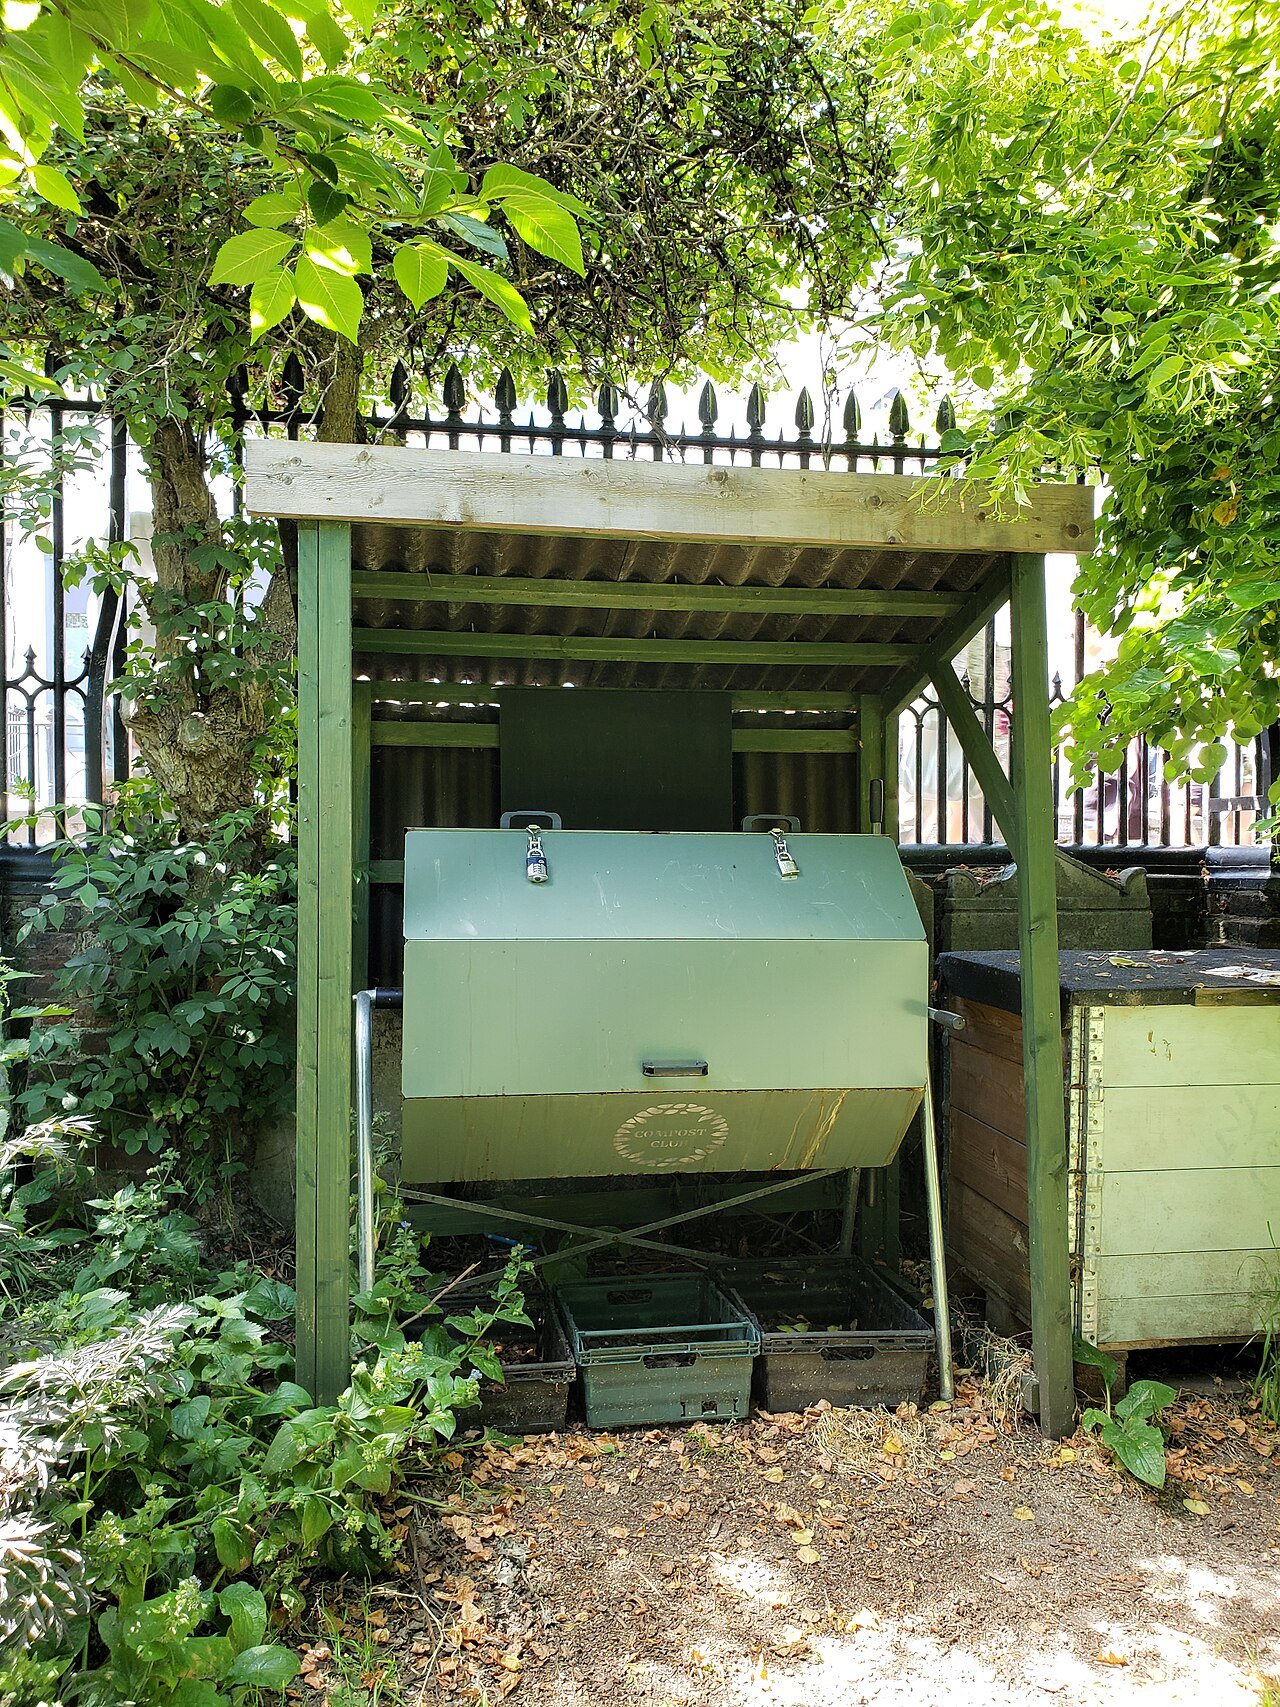
Think about the entire workflow: where kitchen scraps are stored before carrying them outside, how you layer new material, where you keep dry leaves, how you turn the contents and how you remove finished compost from the bottom. The best-looking bin is not always the easiest to empty.
1. Stationary plastic bins: good for compact yards
Stationary enclosed bins generally provide a modest footprint, a removable lid and a door or panel near the base. Their biggest benefit is organization. You can add scraps regularly without a free-standing heap spreading across the ground. They work well when you have a reliable source of “browns” such as leaves or torn uncoated cardboard.
Look for a secure lid, practical access to the finished material, ventilation, and a design you can work with a fork or compost aerator. Some plastic models have no floor, allowing direct contact with soil organisms. If rodents are common, check what protection is provided at the base; don’t assume a lid makes the whole system rodent-proof.
These bins can accumulate a fresh layer on top while the bottom continues decomposing, but mixing becomes difficult when the vessel is full. A separate pile or a second bin for curing may be useful if you add food waste every day.
2. Compost tumblers: convenient, but not magic
A tumbler lets you rotate its contents without turning a heavy pile by hand. An elevated, reasonably secure drum can deter some pests. It is therefore a practical option for patios and urban households that cannot maintain a larger multi-bay heap.
The common misconception is that every tumbler produces finished compost in two weeks. Actual speed depends on temperature, waste texture, moisture, batch size and whether fresh food is added continuously. A small tumbler may not reach or maintain the temperatures of a properly sized hot-compost heap. Wet food scraps can clump into balls that rotate without mixing well.
For a two-chamber tumbler, one chamber can receive new materials while the other matures. For a single chamber, consider storing finished or partially processed compost elsewhere while beginning the next batch. OSU Extension’s systems guide discusses active turning and the benefits of a two-tumbler workflow.
3. Mesh leaf bins: use the right material
Wire-mesh cages excel at corralling autumn leaves and garden trimmings. They provide abundant airflow and can be built from appropriate wire fencing secured to stakes. Shredded leaves tend to break down faster than whole, matted layers. Lightly moistening overly dry material can help the decomposition process.
Because a mesh cage is not enclosed, it is usually a poor first choice for large amounts of exposed food waste in an area with rats, raccoons or other scavengers. It can be an excellent leaf-mold system or a storage bin for the carbon-rich leaves needed by a separate food-scrap composter. Keep the mesh structurally sound and avoid sharp exposed wire.
4. Wooden two- or three-bin systems: best for regular garden waste
Multiple bays solve a logistics problem. Fresh material accumulates in one section. Active compost can be turned into a second bay, and a third holds material that is curing. This is especially useful for households with seasonal surges of leaves, weeds without mature seeds, vegetable remains and pruning debris.
Build with weather-tolerant materials, adequate side ventilation and at least one removable front panel. Avoid relying on an unventilated solid box that traps excessive water. Keep the system accessible by wheelbarrow and wide enough to use a garden fork safely. Don’t use chemically contaminated salvage wood or materials that may introduce undesirable substances to finished compost.
The exact dimensions should reflect your yard and volume; larger hot-compost batches usually retain heat better than very small piles. University of Missouri Extension illustrates bin arrangements and explains the value of a removable access side.
How to size a compost bin before buying one
Start by observing one or two typical weeks of scrap output. A household with a small kitchen but few leaves may need a different approach from a gardener who fills bags after weekly pruning. Estimate both input volume and bulking material storage. If you need to add a layer of shredded leaves each time you add fruit and vegetable scraps, that carbon source occupies significant volume too.
Also allow for material to remain in the system after new waste stops arriving. If a container is continually filled with fresh scraps, there may never be a clear curing period. A second compartment can be more important than buying a single large, expensive bin.
Use the GardenVoila compost calculator to estimate finished material needs, but remember it is a planning tool, not a promise that every pound of input becomes the same volume of finished compost.
Where to place an outdoor compost bin
Choose level, well-drained ground with reliable access during rain and winter. A bin located out of sight behind a thorny hedge is less useful when you need to add material daily. Keep enough working space in front to remove compost and handle a turning fork. Avoid downspout runoff and low spots that become waterlogged.
Shade can reduce drying in hot climates; a sunny location can warm an active pile in cool conditions. Neither guarantees fast composting. Temperature depends largely on microbial activity and material balance. Observe how the site behaves during the wettest season and how likely neighboring properties are to be affected by smells or pests.
Check local rules or homeowners’ association guidance on outdoor composting, especially for food scraps near shared fences. Some places limit compost-bin location or specify methods for rodent prevention.
What belongs in an outdoor bin?
Good inputs include vegetable and fruit scraps, coffee grounds, crushed eggshells, fallen leaves, untreated garden trimmings and small amounts of torn paper or cardboard. Aim to combine moist nitrogen-rich “greens” with absorbent carbon-rich “browns.” The ratio is an operating guide, not a chemistry test you must perform every week.
For a basic garden compost pile, avoid meat, dairy, greasy cooked food, pet feces, diseased crops and persistent weed seeds unless your process and local guidance specifically permit a safe treatment method. Some municipal industrial systems accept materials unsuitable for typical home bins. Don’t generalize their rules to your backyard setup.
The University of Connecticut Extension guide recommends covering fresh food scraps with dry leaves or other browns and maintaining the dampness of a wrung-out sponge.
How to keep pests and smells out of the bin
Rotten or sour odor: Too much moisture or too little oxygen is likely. Mix in dry shredded leaves, open the structure enough for ventilation, and turn matted material. Strong ammonia odor: Add carbon-rich browns and mix. Fruit flies: Bury fresh scraps deeper or cap with leaves instead of leaving them on the surface. Rodent activity: Avoid attractive food materials, use a secure lid and appropriate fine-gauge base mesh where suitable, and check holes regularly.
Do not pour pesticides into compost to kill insects. Compost contains decomposer organisms, and indiscriminate insecticide use can undermine the process. If you find larvae, see our guide to larvae and maggots in compost for identification and moisture-management advice.
Watch a home compost system being built and maintained
This practical introductory video explains how greens, browns, water and air interact. Use it to visualize the maintenance routine after choosing a container; it is not an endorsement of any particular product.
Video: How to Make Compost at Home (For Beginners), Next Level Gardening.
Common questions about outdoor compost bins
Is a compost tumbler better than an outdoor bin?
Better for easy turning and, in some settings, pest deterrence; not necessarily better for large volumes or rapid hot composting. Choose by available space and material flow.
Should an outdoor compost bin have a bottom?
It depends on soil contact and pest risk. An open-bottomed stationary bin allows contact with soil organisms, while a secure bottom can help on a paved site or where rodents are persistent. Both need drainage and aeration.
Can I keep a compost bin in full sun?
Yes, provided the contents do not dry out. In hot climates, partial shade may make moisture easier to manage. Site choice should balance daily convenience and climate.
How long does a compost bin take?
There is no reliable universal number of days. Active, well-managed systems can finish faster than neglected cold systems, but batch size, inputs, weather and turning control the timing.
Do outdoor compost bins attract rats?
They can if accessible food scraps are present. Exclude attractive materials, cap additions with dry browns, maintain appropriate enclosures and monitor your setup.
Choosing the best setup
For a small yard with kitchen scraps, start with an accessible enclosed bin or tumbler. For mostly leaves, consider mesh. For a productive garden with frequent waste, a wooden multi-bay structure usually gives more flexibility. No purchase replaces daily habits: mix materials, control moisture and give finished compost time to mature.
Research and further reading
- Oregon State University Extension: Choosing and using a compost system
- NC State Extension: Composting handbook
- University of Missouri Extension: Making and using compost
- University of Connecticut Extension: Composting at home
Featured photo: Joe Hoover / Wikimedia Commons, CC BY 4.0. Resized for web display.
Free printable: the Year-Round Garden & Preserving Planner
Planting dates for 24 crops, monthly tasks, blanching times, canning safety numbers and a winter storage chart in one 8-page PDF. Enter your email to download it instantly and get our seasonal garden newsletter.
No spam. Unsubscribe any time. We never sell your email.